Lighting scenes for one file
See how one luminaire lights a wall, an open area, a street, a path, a room, a corridor or stairs. You need no account.
On this page
Choose a scene and a file
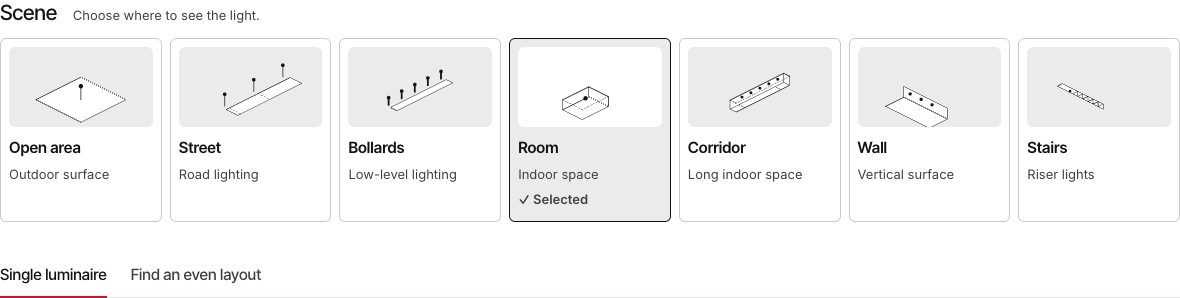
Open Tools, then Lighting Scenes. Choose a scene: Open area, Street, Bollards, Room, Find an even layout, Corridor, Wall or Stairs. Drop one IES or LDT file, then select Calculate. On the result, the scenes sit in one row of icons at the top: select another to see the same file there.
Change the settings
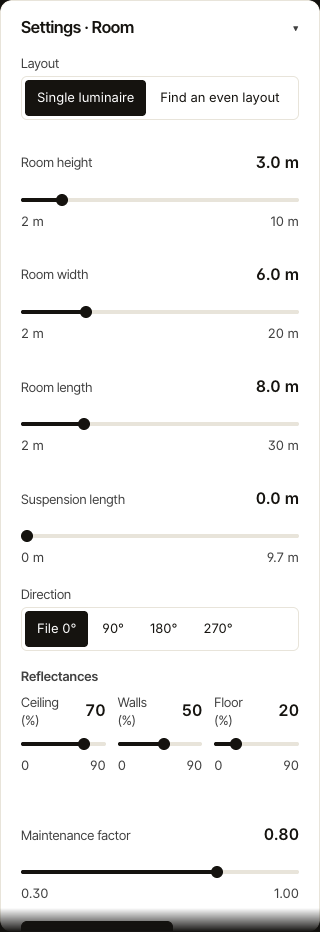
From 1280 pixels wide, the scene fills the screen: the settings sit in a panel on the left, the size of the scene first and then the luminaire, and the figures in a panel on the right. On a narrower screen the settings sit above the scene, and on a phone they start folded under Settings, so the scene shows first. The settings are the sizes, the mounting height, the spacing and the Maintenance factor. Move a slider, or select the value and type it.
At the top of the page, choose International · lux or North America · fc. It sets the Standard, which sets the grid, the uniformity measure and the targets, and the Unit at once. For another pair, such as the International standard in foot-candles, the button next to it sets the Standard and the Unit on their own. The picture often follows a change by itself, and the line under the scene says what the last setting does. When the page shows Update preview, select it to see the new scene and figures.
Read the result
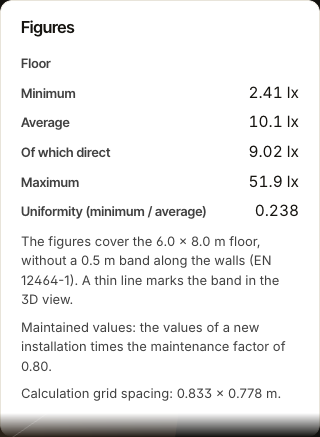
The figures give the average, the lowest and the highest light level and the uniformity. A Street adds the road luminance in cd/m² for the Road surface you choose: C1, C2, R1 to R4 or N1 to N4 with International (CIE), R1 to R4 with North America (IES). When you choose a lighting class or the emergency check, its verdict shows first. When the light meets the target, the page says it passes. When it does not, check the design in your lighting design software. Notes say what the scene leaves out.
Light a room
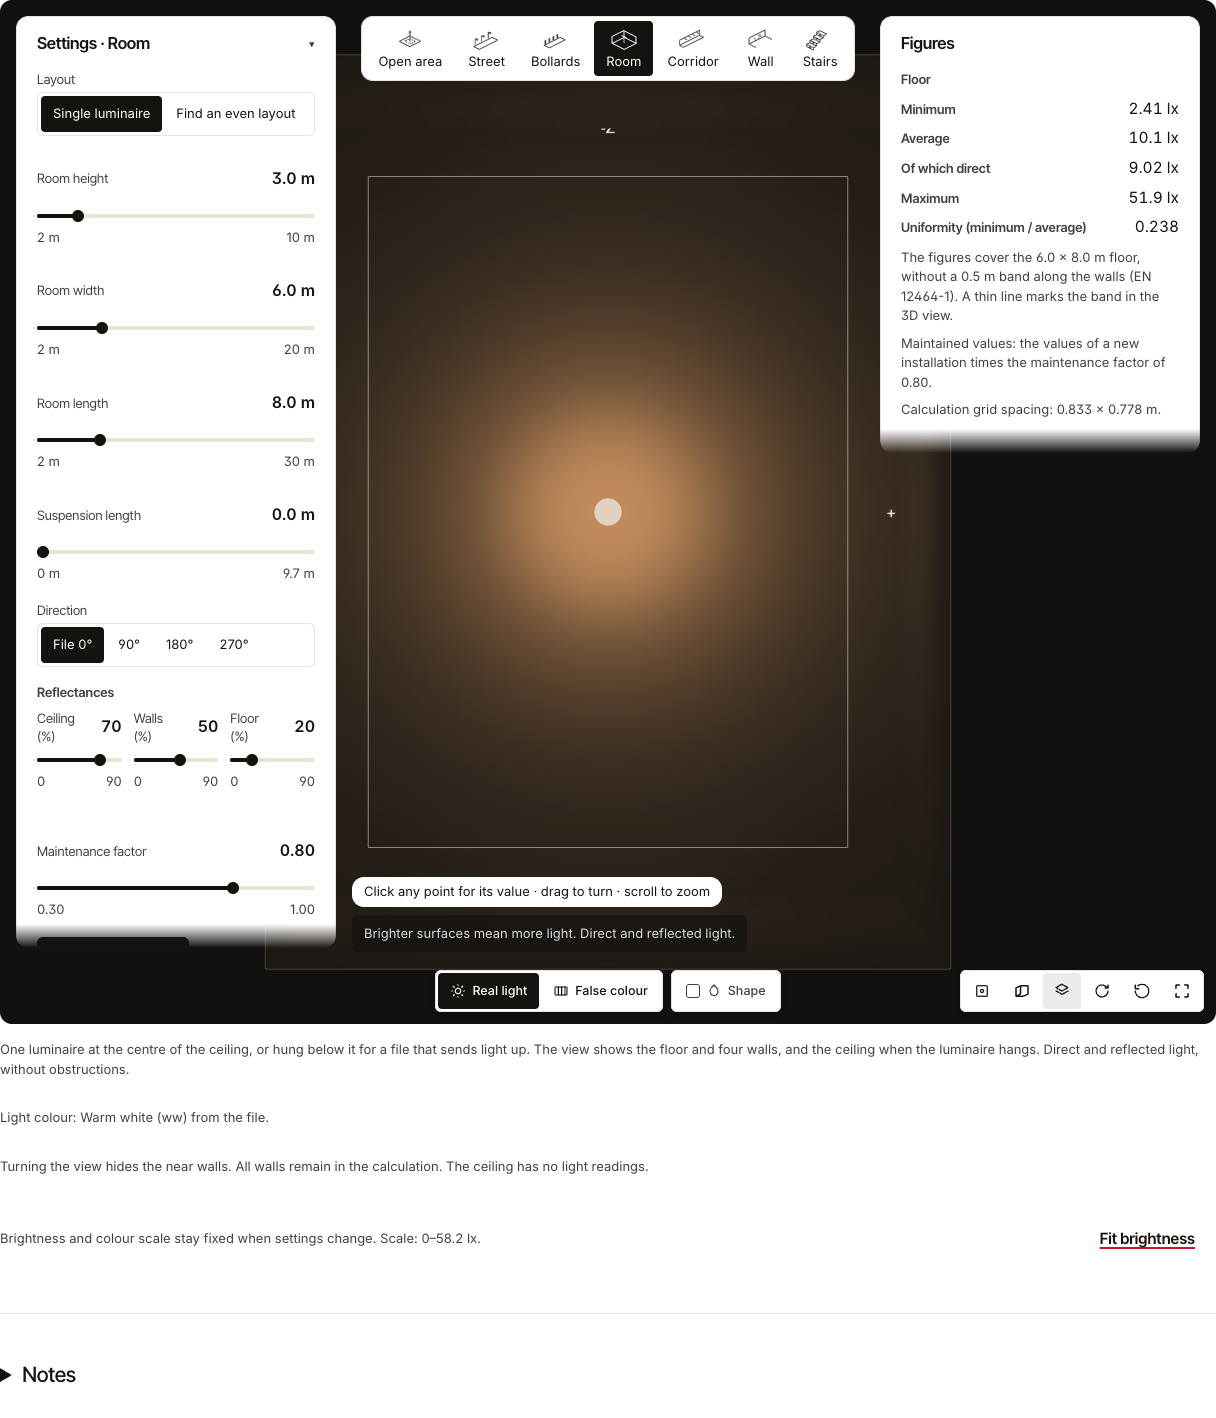
In Room, Corridor and Find an even layout, set the Reflectances of the ceiling, the walls and the floor, from 0 to 90%: 70, 50 and 20 by default, or 80, 50 and 20 with North America. The figures then include the light that the empty room reflects, and Of which direct gives the part of the average that comes straight from the luminaires. Set all three to 0 to see the direct light alone. The direct and the reflected light pass the test cases of CIE 171, the CIE report for testing lighting software, that fit a room with luminaires: point sources, the light balance of a closed room, light reflected by the surfaces, and six rooms that CIBSE measured. We are still comparing it with lighting design software in reference rooms. Until that comparison ends, use these figures as a guide.
In Room, the Suspension length says how far the luminaire hangs below the ceiling. Leave it empty, and IESDesk hangs a luminaire that sends 10% or more of its light up 0.8 m below the ceiling; any other stays on the ceiling. A hung luminaire adds Ceiling figures under the floor figures, and the scene looks up when the ceiling is brighter than the floor.
Find an even layout
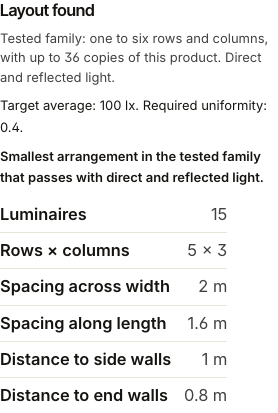
Give the room, a Target average and the Required uniformity (minimum / average). IESDesk tries layouts and shows the smallest one that meets them with direct and reflected light, drawn in the room.
Check a lighting class
In Street or Bollards, choose a Lighting class. With the International standard, a street takes the M classes of EN 13201-2 (road luminance) or the C classes (illuminance of a conflict area), and a path takes the P classes. With North America, a street takes the street type and pedestrian activity of ANSI/IES RP-8-25, and a path takes its walkway values. The page lists each value of the class next to the figure of the scene. A road luminance class says whether the scene passes or not. A light level class says when it passes; when direct light alone does not reach it, check reflected light in your lighting design software. The page names each value of the class that it does not calculate yet. For an M class where wet roads apply, choose a Wet road surface from W1 to W4, and the page also checks the wet-road uniformity Uow.
Check emergency lighting
In Corridor or Open area, tick Check emergency lighting and set the Emergency light output (%): the share of the file's light that the luminaire gives in emergency mode, 100% for a dedicated emergency luminaire. With the International standard, the page checks EN 1838:2024 for an escape route or an anti-panic open area: the minimum, the minimum to maximum and the glare between 60° and 90°, and says whether it passes and why not. With North America, it shows the NFPA 101 values of an egress path; when direct light alone does not reach them, check reflected light in your lighting design software. The check leaves out the duration, the safety signs and the rule that two luminaires light each point.
Look around
The scene turns slowly by itself when it opens. The buttons at the foot of the scene, on the right, move the camera: Front and Side look across it, Top looks down, Turn starts and stops the slow turn, Reset goes back and Full fills the screen. Each shows its name when you point at it. On a phone, Explore in 3D turns the scene. Select a point to read its light level.
The buttons in the middle change the picture: Real light or False colour, and Shape, Isolux and Grid, where the scene has them, which each turn on and off on their own. Isolux draws lines of equal light with their values, and Grid a distance grid.
A scene gives an idea
Room and Corridor count the light that the empty room reflects, with the reflectances you set. The other scenes count the direct light of the luminaire only. Scenes help you choose and compare products quickly. For a design that must meet a standard, check it in your lighting design software.
Where your file goes
Lighting Scenes reads your file in your browser where it can, and sends our server only the results to draw the page. IESDesk keeps no copy. The privacy notice has the details.